[Android]タップ範囲を広げるレイアウト構築テクニック
小さいアイコンをそのままViewで表示するとタップ範囲が狭くて押しづらくなります。
Material Designのガイドラインでも最低48dp以上のサイズのタップ範囲を設定するよう記述されています。
Accessibility – Material Design
小さいアイコンのタップ範囲を広げたい
Androidでタップ範囲を広げるためにはTouchDelegateが使用できます。
ViewGroup のタッチイベントの管理 | Android デベロッパー | Android Developers
しかし、タッチ範囲を広げたつもりが反応しなかったりなど、
TouchDelegateは正しく動作させようとすると意外とハマりどころが多く実装が難しいです。
そこで、もっと簡単にタップ範囲を広げてみます。
TouchArea用のViewを追加する
このように真ん中に配置された小さいアイコンのタップ範囲を拡大していきます。
ここではtouch_area_small_icon_viewというタップ範囲用のViewを追加しています。
このViewはlayout_constraintBottom_toBottomOfなどで
左右上下にsmall_icon_viewを指定して、
2つのViewの中心が同じ位置になるようにしています。
こうすることでtouch_area_small_icon_viewのサイズを変えることでタップ範囲を調整できるようにします。
<androidx.constraintlayout.widget.ConstraintLayout
        android:layout_width="match_parent"
        android:layout_height="match_parent"
        tools:context=".MainActivity">

        <ImageView
            android:id="@+id/small_icon_view"
            android:layout_width="wrap_content"
            android:layout_height="wrap_content"
            app:layout_constraintBottom_toBottomOf="parent"
            app:layout_constraintEnd_toEndOf="parent"
            app:layout_constraintStart_toStartOf="parent"
            app:layout_constraintTop_toTopOf="parent"
            app:srcCompat="@android:drawable/ic_delete" />

        <View
            android:id="@+id/touch_area_small_icon_view"
            android:layout_width="48dp"
            android:layout_height="48dp"
            app:layout_constraintBottom_toBottomOf="@id/small_icon_view"
            app:layout_constraintEnd_toEndOf="@id/small_icon_view"
            app:layout_constraintStart_toStartOf="@id/small_icon_view"
            app:layout_constraintTop_toTopOf="@id/small_icon_view" />

    </androidx.constraintlayout.widget.ConstraintLayout>
あとはtouch_area_small_icon_viewに設定していたClickListenerをtouch_area_small_icon_viewに付け替えます。
これでタップ範囲の拡大ができました。
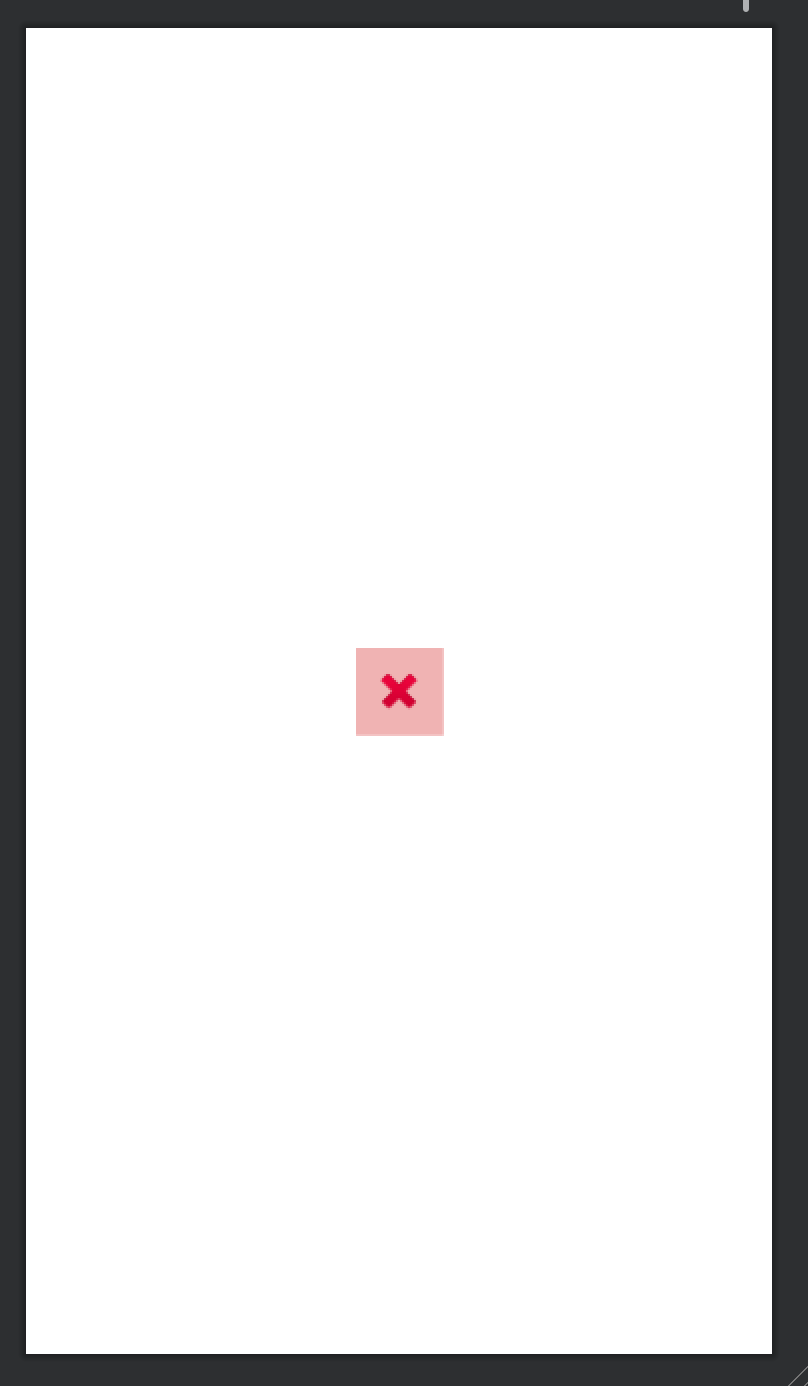
タップ範囲を可視化する
このやり方だとタップ範囲用にViewを追加しているので、タップ範囲をレイアウトファイルで可視化することができます。
touch_area_small_icon_viewに下記の設定を追加することでタップ範囲が可視化できます。
toolsで指定しているのでレイアウトエディタ上でのみ可視化が反映されます。
tools:background="@android:color/holo_red_dark"
tools:alpha="0.3"
<androidx.constraintlayout.widget.ConstraintLayout
        android:layout_width="match_parent"
        android:layout_height="match_parent"
        tools:context=".MainActivity">

        <ImageView
            android:id="@+id/small_icon_view"
            android:layout_width="wrap_content"
            android:layout_height="wrap_content"
            app:layout_constraintBottom_toBottomOf="parent"
            app:layout_constraintEnd_toEndOf="parent"
            app:layout_constraintStart_toStartOf="parent"
            app:layout_constraintTop_toTopOf="parent"
            app:srcCompat="@android:drawable/ic_delete" />

        <View
            android:id="@+id/touch_area_small_icon_view"
            android:layout_width="48dp"
            android:layout_height="48dp"
            app:layout_constraintBottom_toBottomOf="@id/small_icon_view"
            app:layout_constraintEnd_toEndOf="@id/small_icon_view"
            app:layout_constraintStart_toStartOf="@id/small_icon_view"
            app:layout_constraintTop_toTopOf="@id/small_icon_view"
            tools:background="@android:color/holo_red_dark"
            tools:alpha="0.3"/>

    </androidx.constraintlayout.widget.ConstraintLayout>
まとめ
TouchArea用のViewを追加することで単純にレイアウトファイルの修正だけで対応できました。
さらにタップ範囲もレイアウトエディタ上で確認でき、わかりやすいので範囲調整も容易です。
どんな場合でも適用できるとはわけではないですが、大抵はこのやり方で十分ではないでしょうか。